Buckle up as look into unconventional methods and exercises that transcend the ordinary advice of merely keeping your shoulders back. If you’ve ever felt like you’re wrestling with your shoulders during every chest workout, this guide will help you in muscle growth. No more generic tips; let’s look into precise methods that have made a significant impact on pulling shoulders back, keeping anterior delts at bay, and ensuring your chest is the primary player in every pressing movement.
Curved Deposture Syndrome
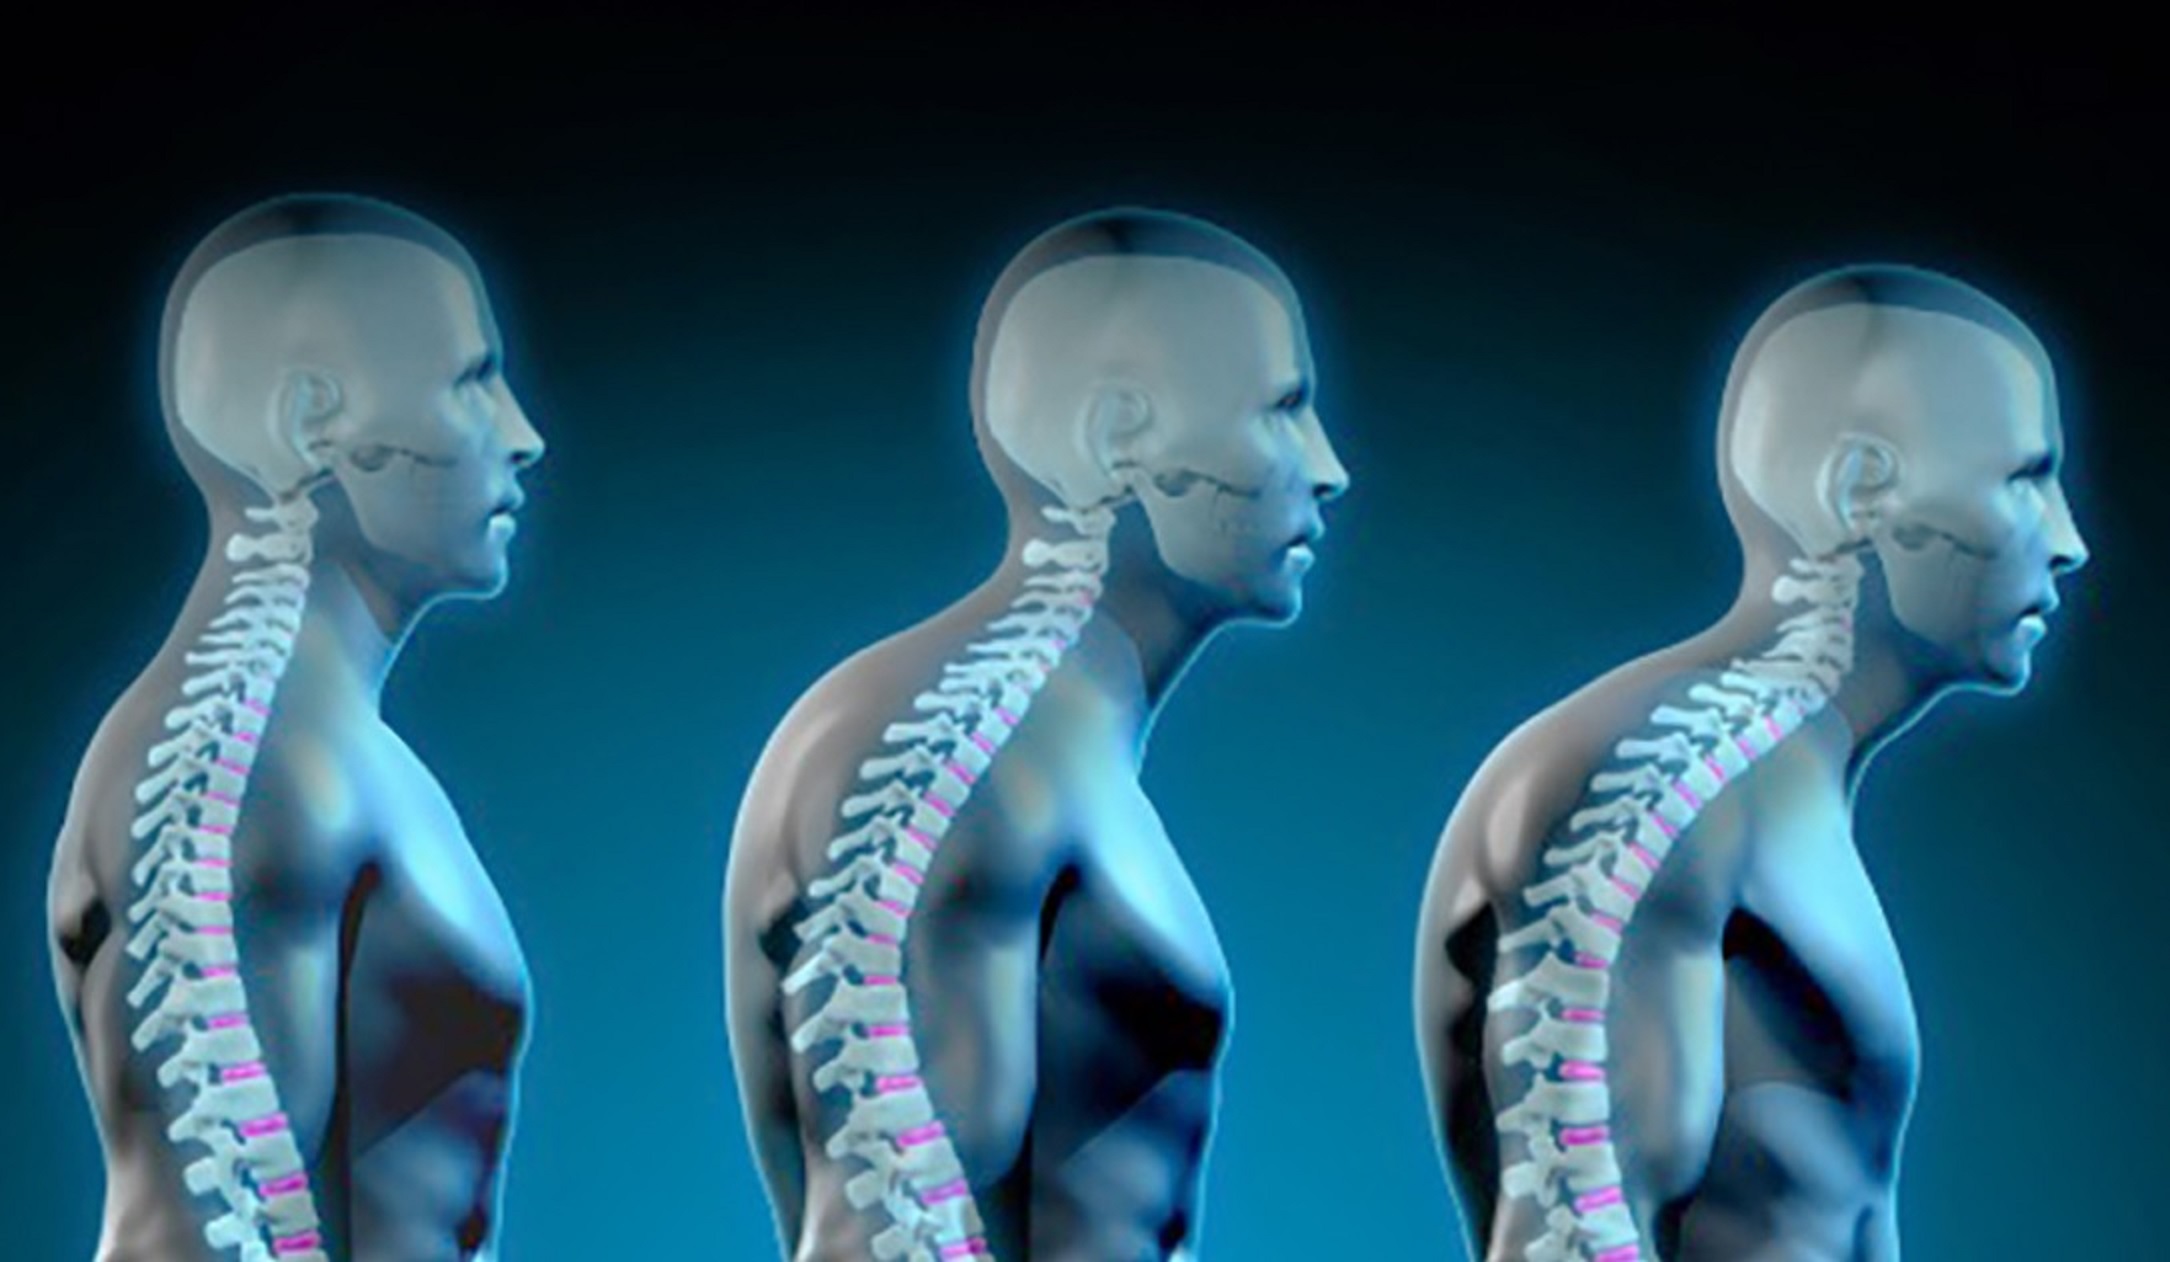
- Last year, you found yourself succumbing to what you now call “Curved Deposture Syndrome.” Spending extended hours in front of the computer gradually causes your shoulders to hunch forward, not only impeding your chest progress but also creating havoc in various aspects of your well-being.
- Online, myriad exercises promise to enhance thoracic mobility and improve posture, but not all are created equal, especially as your physique grows.
Step 1: A Guide to Thoracic Mobility with a Foam Roller
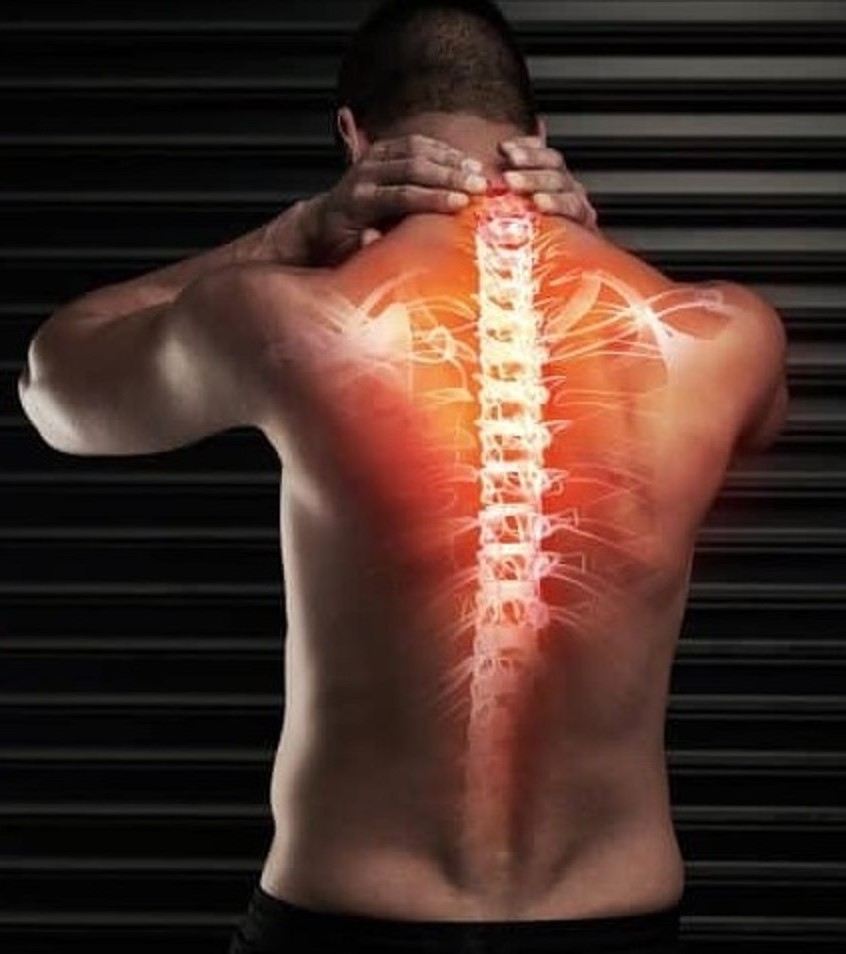
The thoracic spine, located in the upper and middle back, plays a pivotal role in various movements, including those of the chest. When this area lacks flexibility, it can limit your ability to achieve proper form during exercises and hinder overall chest development.
Equipment Needed:
- Grab a foam roller. A versatile and commonly used tool for enhancing flexibility and mobility is the simple yet effective roller.
- Thoracic mobility is not just about flexibility; it’s about creating a dynamic stretch that engages various muscles involved in maintaining proper posture and shoulder positioning.
Initiating the Exercise:
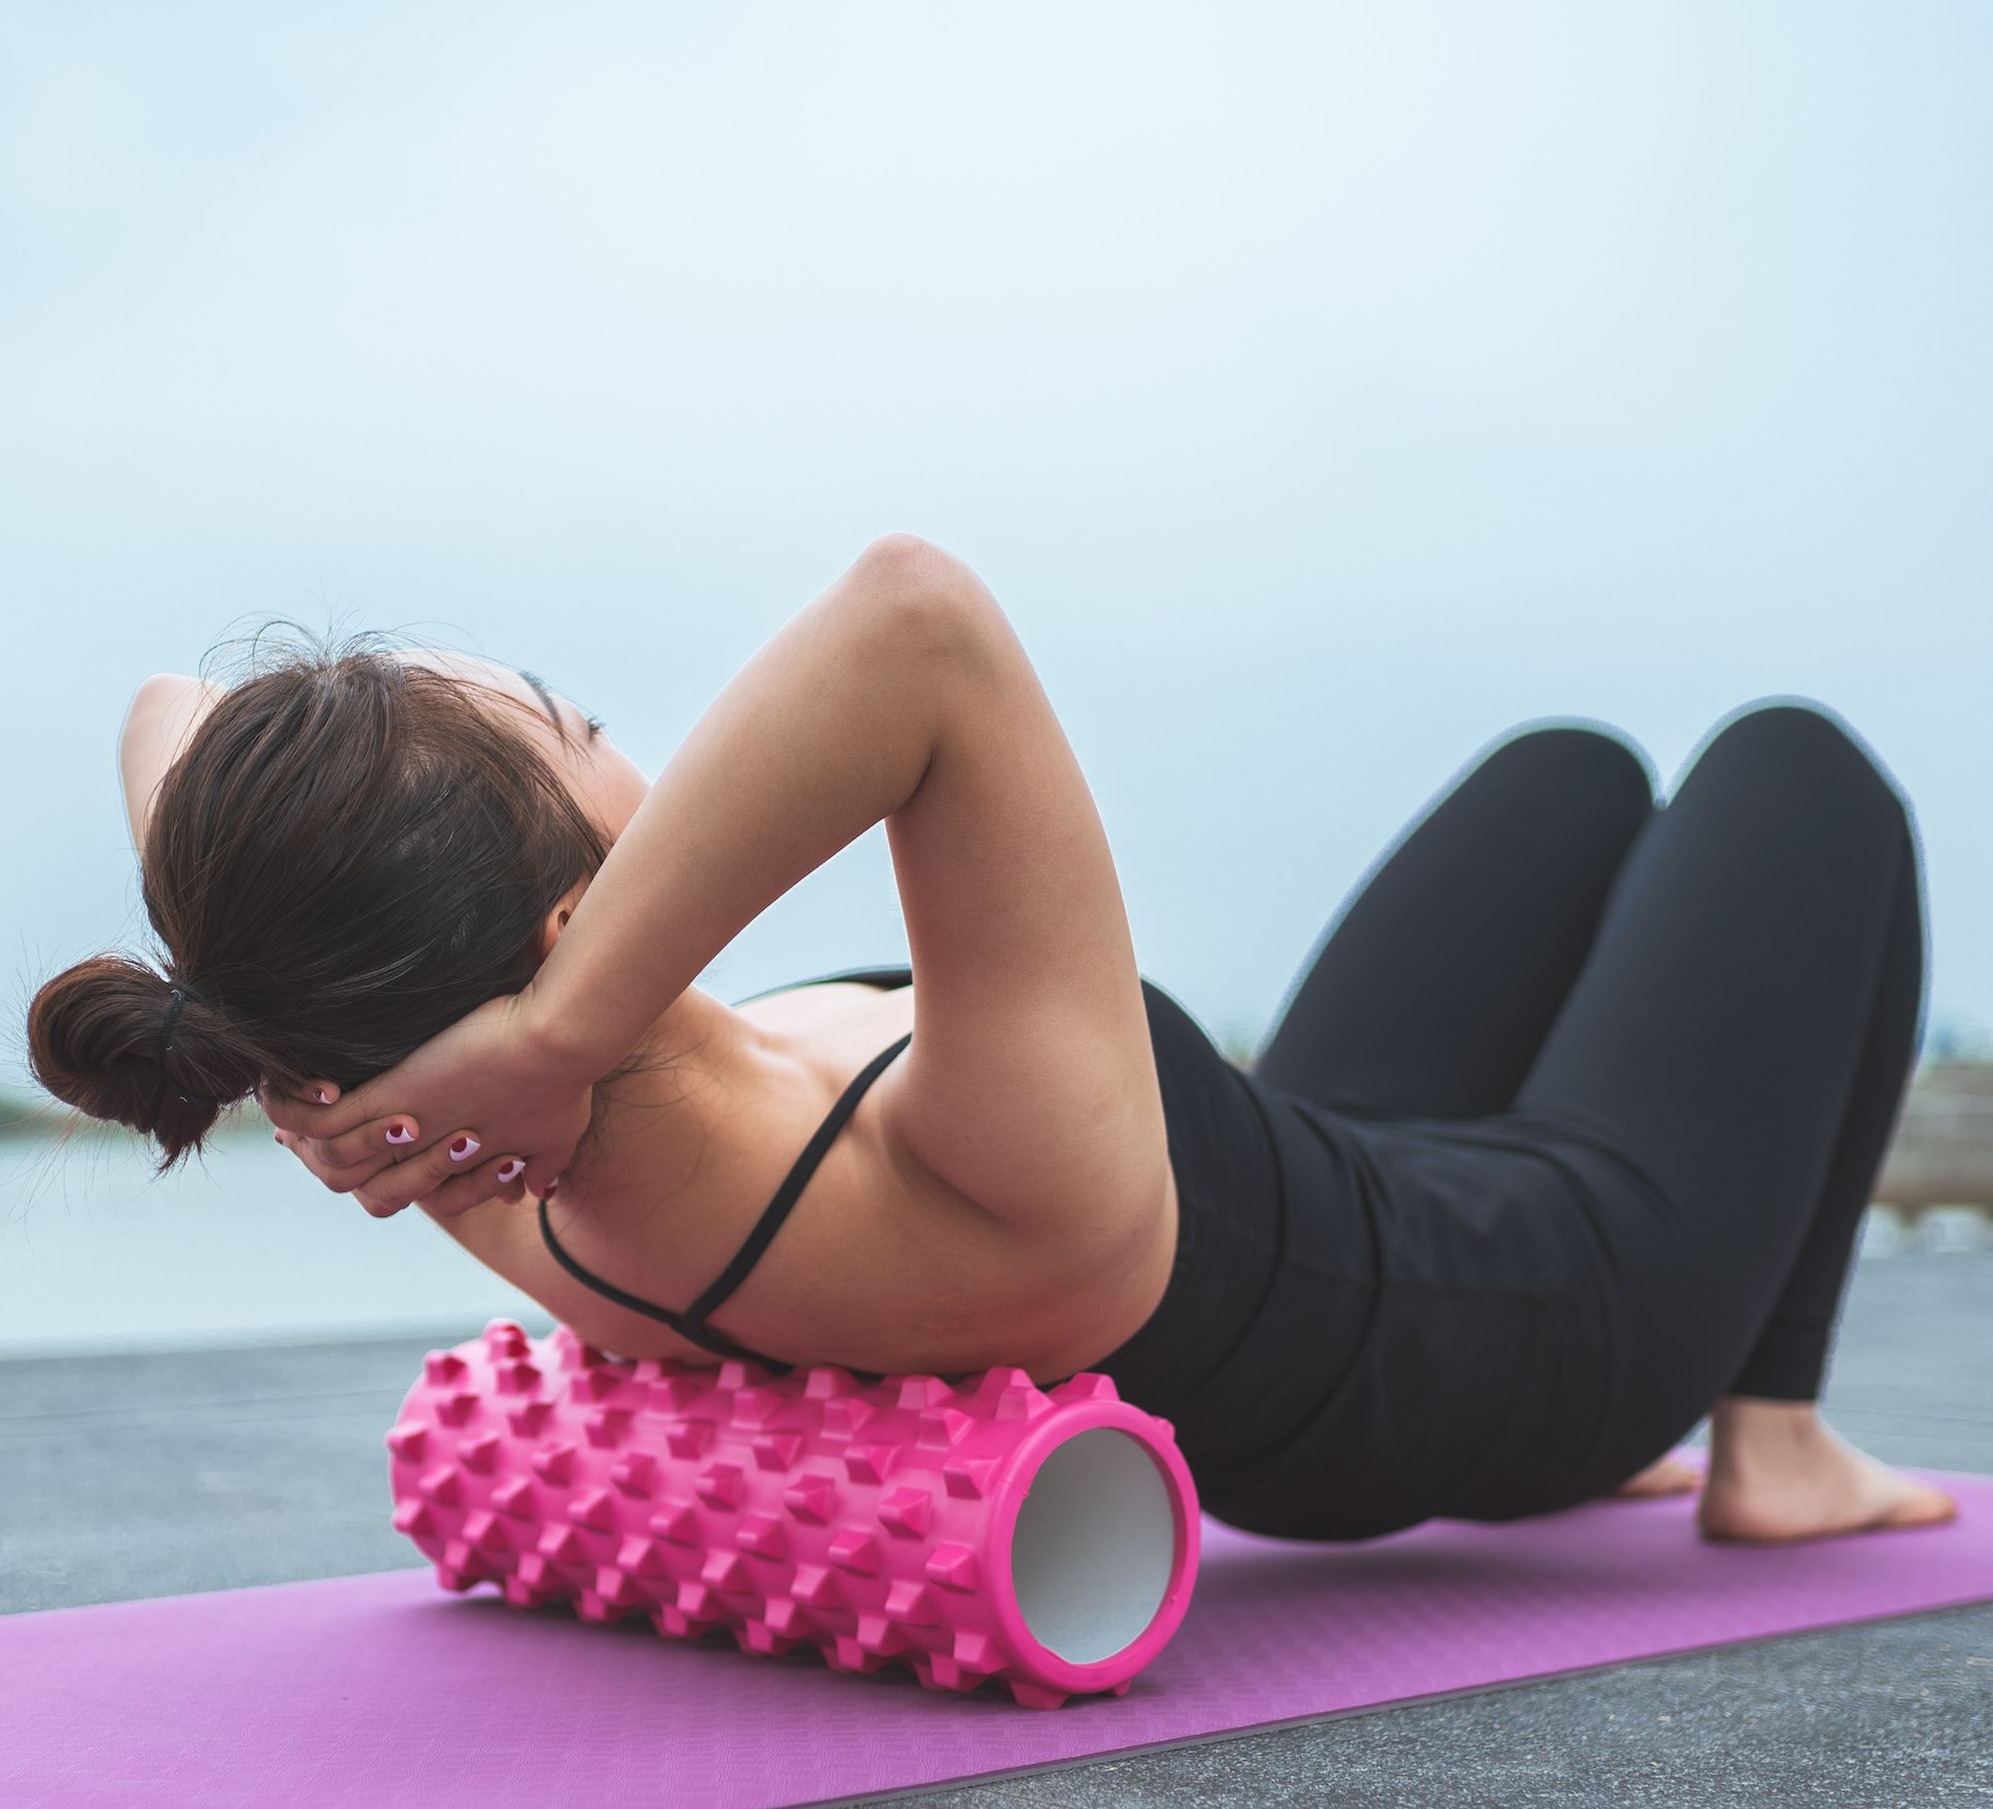
- Begin by placing the foam roller on the ground.
- Position yourself on the floor with your back against the foam roller. The roller should align with your upper back, below the level of the shoulder blades.
- Interlock your fingers and place your hands behind your head. Supporting your neck and ensuring controlled movement, adopting a specific hand position proves beneficial during exercises.
- With your elbows pointing forward, gently lower your upper back onto the foam roller. Throughout the exercise, the goal is to maintain consistent contact between the roller and your upper back.
Controlled Movements:
- Close your elbows together, which enhances the stretch and engages the muscles responsible for pulling the shoulders back.
- Open up your elbows to flex around the foam roller, actively engaging the mid and low trapezius muscles and rhomboids.
Holding or Repetitions:
- You have the option to hold the stretched position for around 10 seconds at the top of each repetition.
- Alternatively, perform repetitions by slowly opening and closing your elbows, allowing for a rhythmic engagement of the targeted muscles.
Identifying Tightness:
- Pay attention to areas of tightness or discomfort. Knots or tension in muscles, often caused by extended periods of poor posture like shoulders rolling forward, may be indicated during these exercises.
Gradual Progression:
- As you become more accustomed to the exercise, gradually work up your thoracic spine, moving the foam roller higher towards your shoulders.
- Understand that this exercise may initially cause discomfort as it addresses tightness and knots in the muscles. This discomfort is a sign of the stretching and release of tension.
- Perform this exercise regularly to improve thoracic mobility and alleviate issues associated with rounded shoulders and forward head posture.
- Emphasize controlled and deliberate movements. To avoid diminishing effectiveness and risking injury, it’s essential not to rush through the exercise.
The foam roller proves to be an excellent tool for alleviating knots and addressing problems associated with poor posture. Incorporating this exercise into your workout routine not only enhances flexibility but also contributes to overall upper body mobility.
Step 2: Correcting Forward Head Posture
Forward head posture is a common consequence of prolonged periods of sitting and working on computers or phones. Misalignment during workouts can have negative impacts on the neck, shoulders, and chest, potentially leading to ineffective results and injuries.
- Chin tucks are a common exercise for addressing forward head posture, where the head juts forward.
- The traditional chin tucks had no effect in their case. This could be due to specific variations in anatomy or muscle engagement.
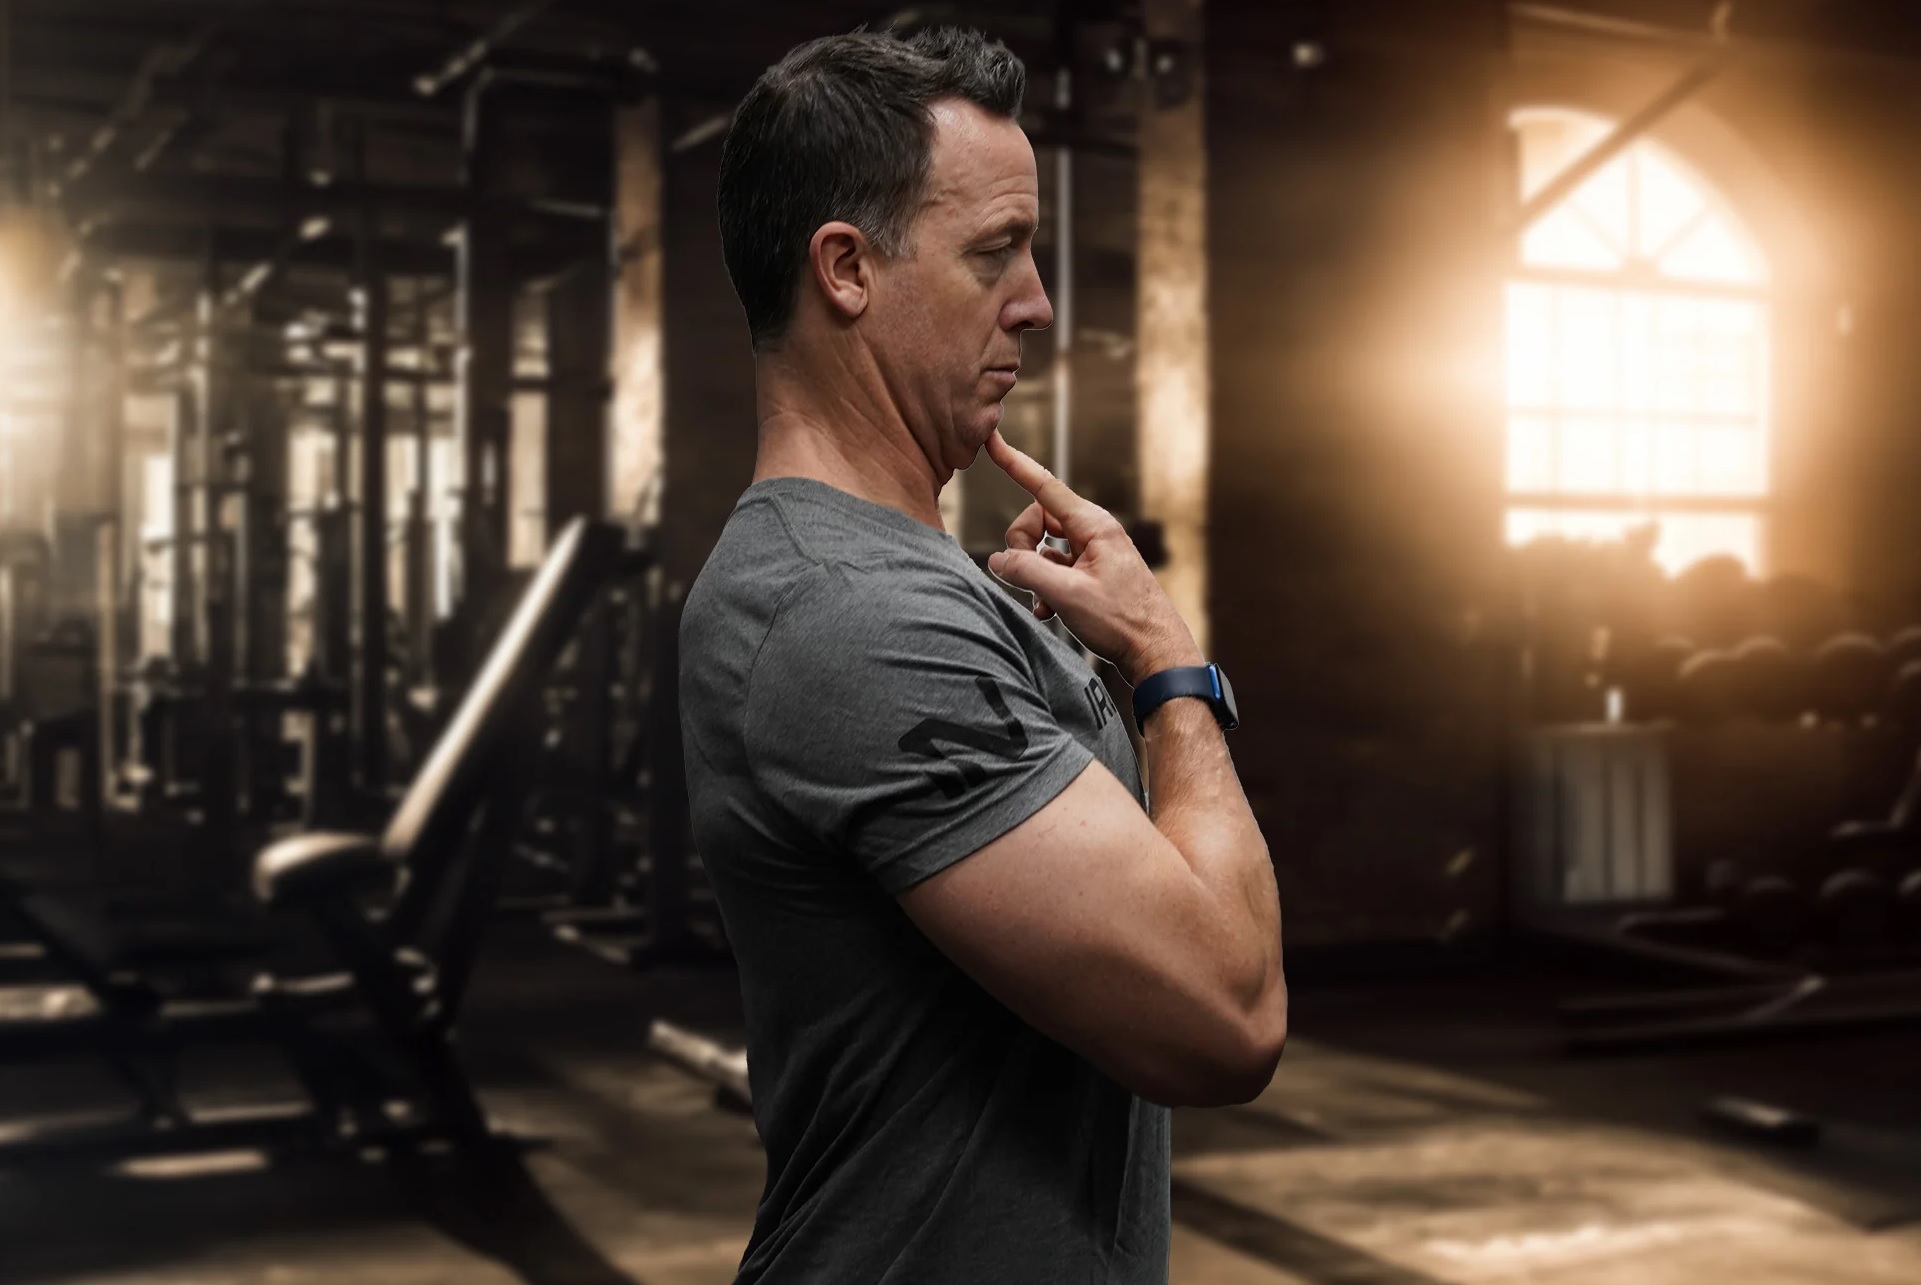
Consulting Manual Therapists:
- Seeking professional advice is a commendable step. Seeking guidance from manual therapists, who specialize in musculoskeletal issues, can provide personalized insights and assistance.
Introduction to the “Adult Version”:
- The term “adult version” suggests a more advanced or targeted approach to chin tucks.
- A towel or a shirt is required for this exercise.
- Wrap the towel or shirt around the back of your neck.
- Hold one end of the towel or shirt with one hand.
Creating Resistance:
- While performing a chin tuck, use the hand holding the towel or shirt to provide a controlled resistance.
- This resistance serves to enhance the effectiveness of the chin tuck.
Chin Tuck Execution:
- Initiate the chin tuck by bringing your chin towards your chest.
- Aim for a full retraction of the chin to maximize the stretch.
Role of the Off Thumb:
- The off-thumb, presumably the one not holding the towel or shirt, plays a role.
- The hand position likely adds an extra layer of resistance, intensifying the stretch during exercises.
Subtle Difference:
- The adult version may seem like a subtle difference, but the added resistance is crucial in making the exercise more impactful.
- The primary goal of introducing resistance is to increase the stretch experienced during the chin tuck.
- Targeting specific muscles involved in correcting forward head posture, these exercises can aid in addressing muscle imbalances.
The adult version of chin tucks offers an innovative approach to counteracting forward head posture, providing a nuanced solution for those who haven’t found success with traditional methods. Approach these exercises with mindfulness, ensuring they align with individual needs and capabilities.
Step 3: Strengthening the Serratus Anterior
The serratus anterior is crucial for scapular stability. Weakness in this muscle can contribute to the winging of the scapula, affecting the efficiency of chest exercises. Strengthening the serratus anterior ensures proper shoulder mechanics and promotes a more significant chest involvement during workouts.
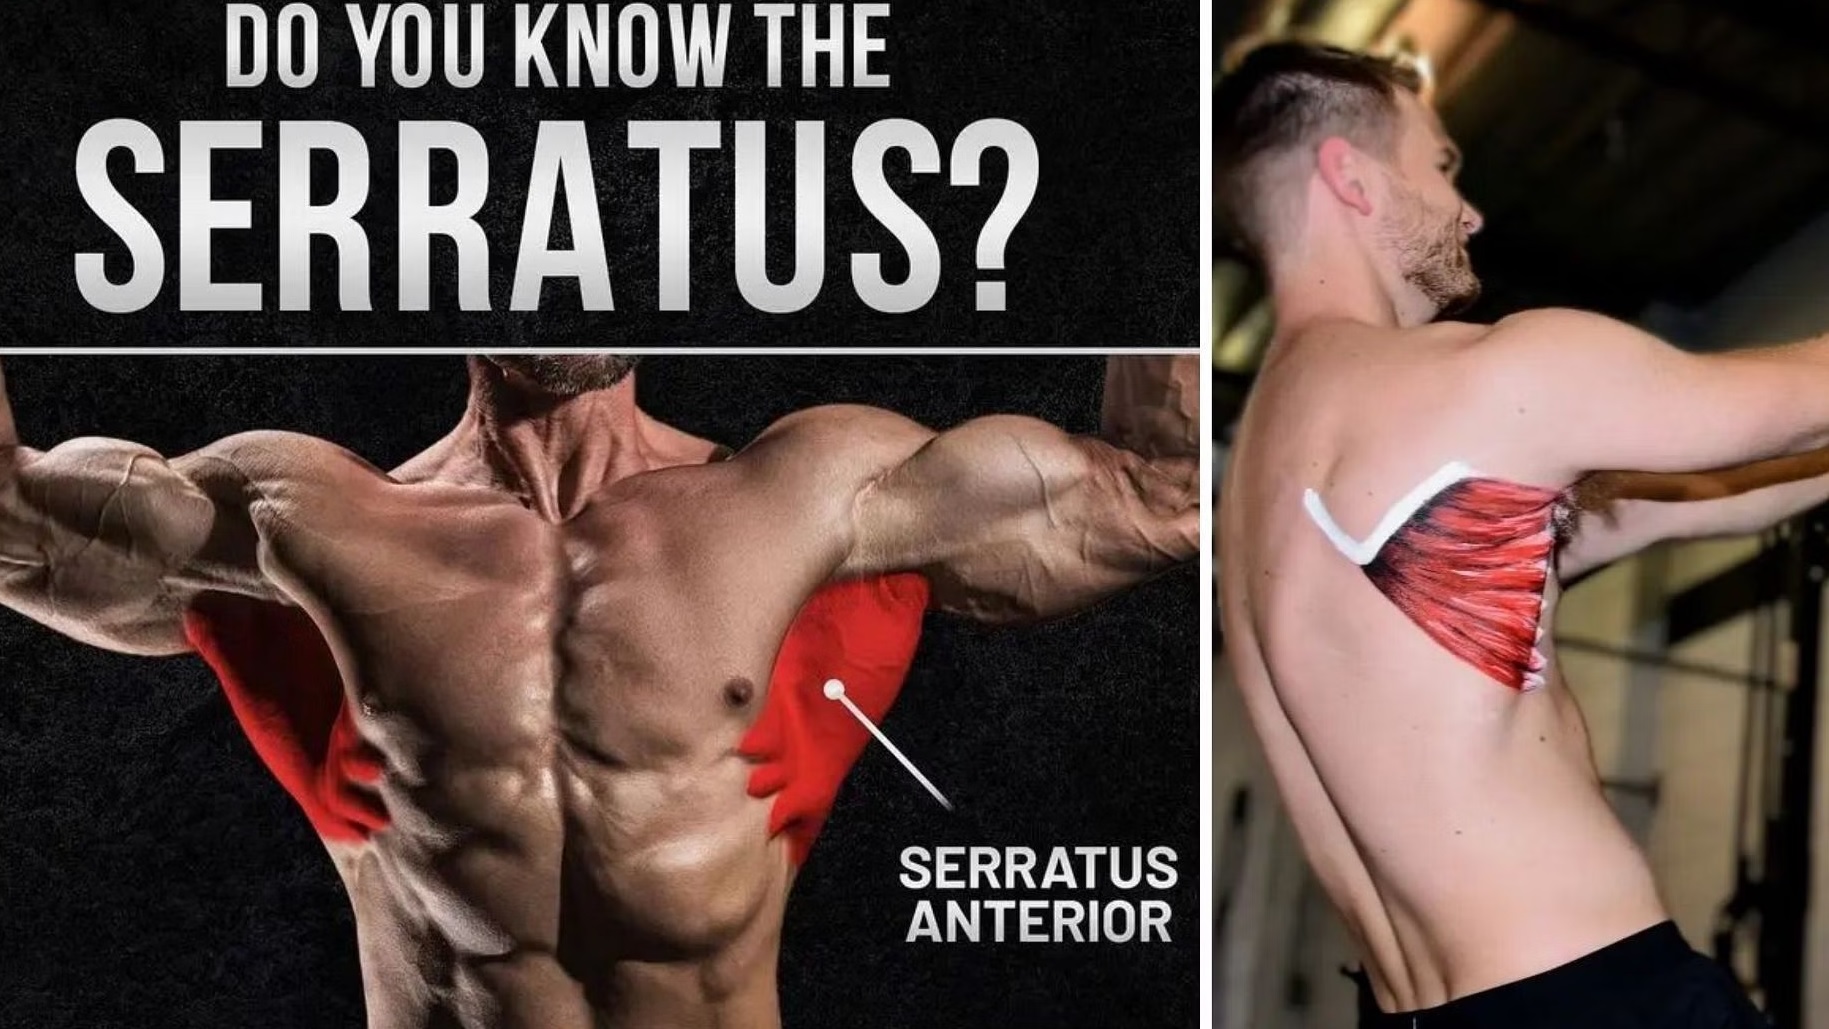
Through personal experience we have learned the significance of addressing and engaging the serratus anterior for overall shoulder health.
Exercise Setup:
- Use a foam roller against the wall as the setup for the exercise.
- You can place pressure on the foam roller using their wrist, likely in a plank or push-up position with hands on the roller.
Engagement Technique:
- As you drive up, you can keep your shoulders back and down.
- The exercise involves actively driving the elbow into the foam roller. This movement likely enhances the activation of the serratus anterior.
- To intensify the exercise, you have the option of backing up the feet. This adjustment increases the difficulty, possibly by adding more body weight to the movement.
- Moving the feet backward not only adds a challenge to the serratus anterior but likely engages other muscles, creating a holistic strengthening effect.
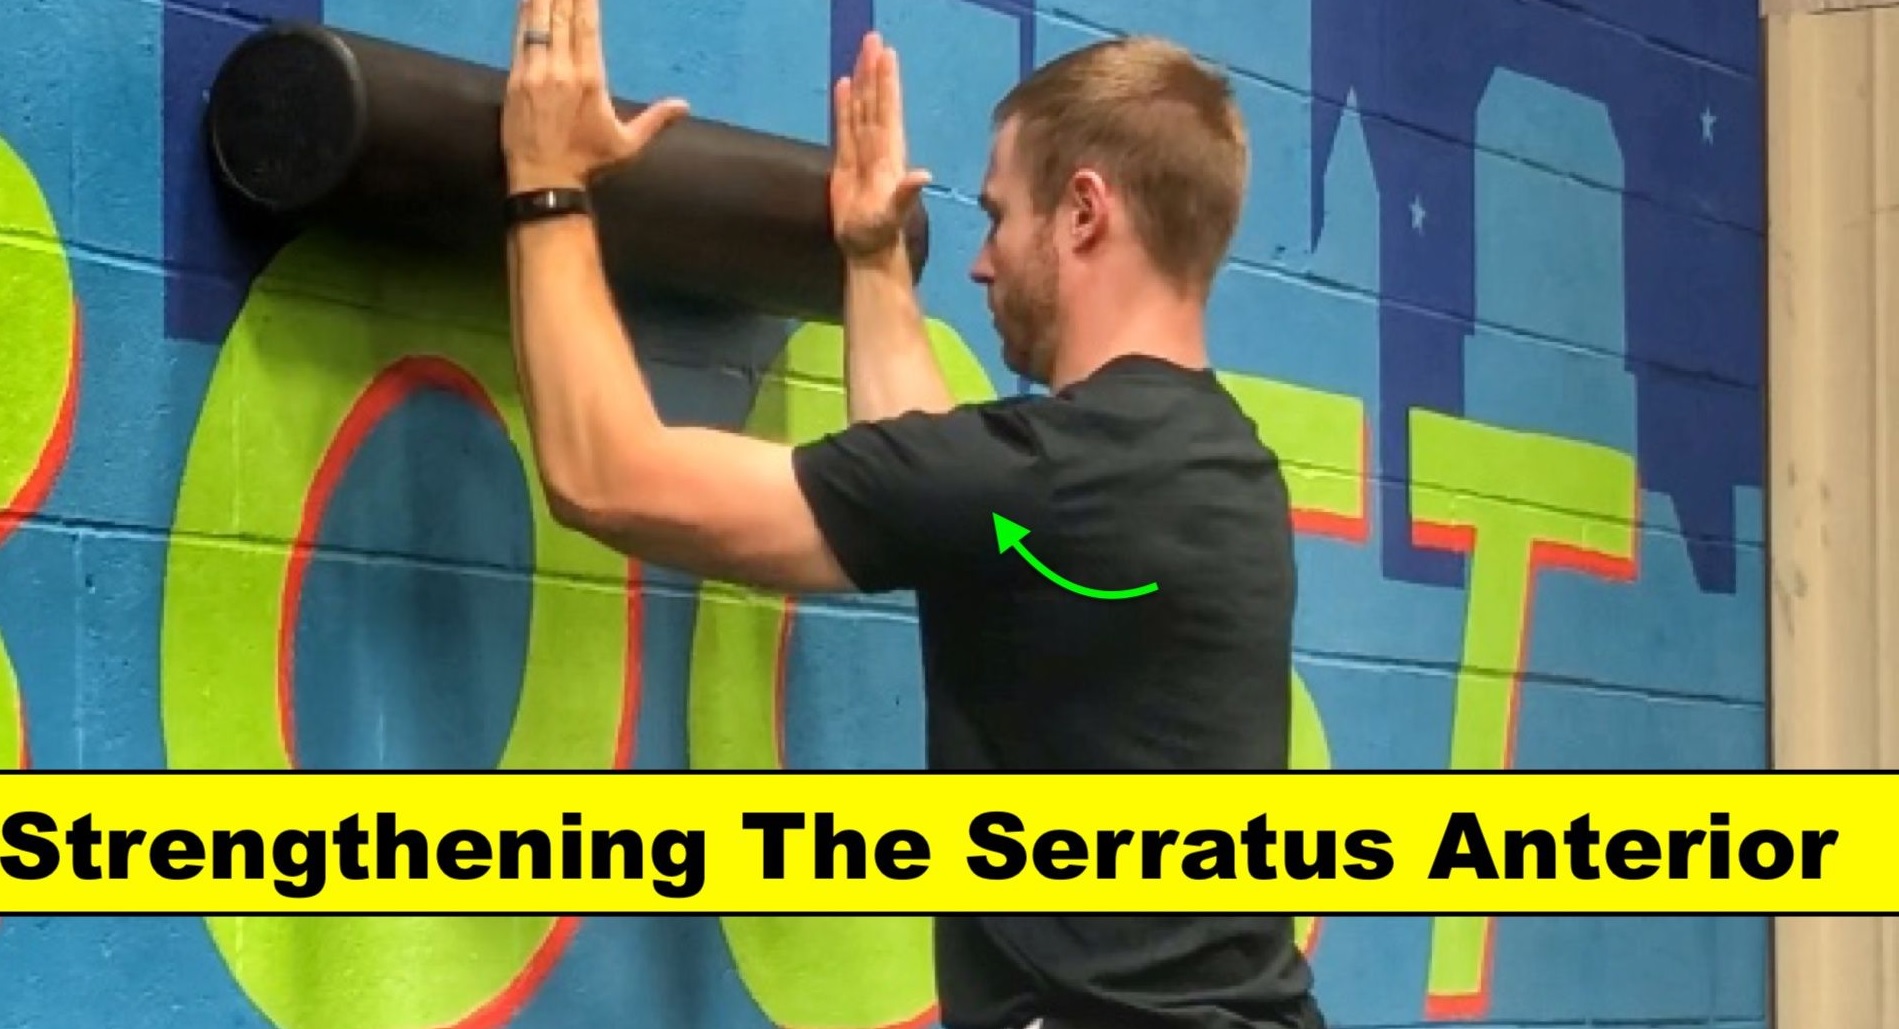
Engaging the serratus anterior is a key component of shoulder health, and the foam roller exercise provides a targeted approach. The option to adjust the difficulty by moving the feet emphasizes adaptability in training, ensuring people can progressively challenge themselves based on their capabilities.
Step 4: Continuous Posture Improvement
Improving posture isn’t a one-time fix; it’s an ongoing commitment. This step involves incorporating awareness and practices into your daily life to maintain the benefits gained from addressing specific issues.
The “bowtie” device is introduced as a tool to aid in improving posture and enhancing chest engagement.
The Bowtie Device:
- The “bowtie” is a piece of equipment designed to assist in pulling the shoulders back.
- This device can be effortlessly incorporated into a gym routine. Wearing it during workouts, provides immediate support in maintaining proper shoulder positioning.
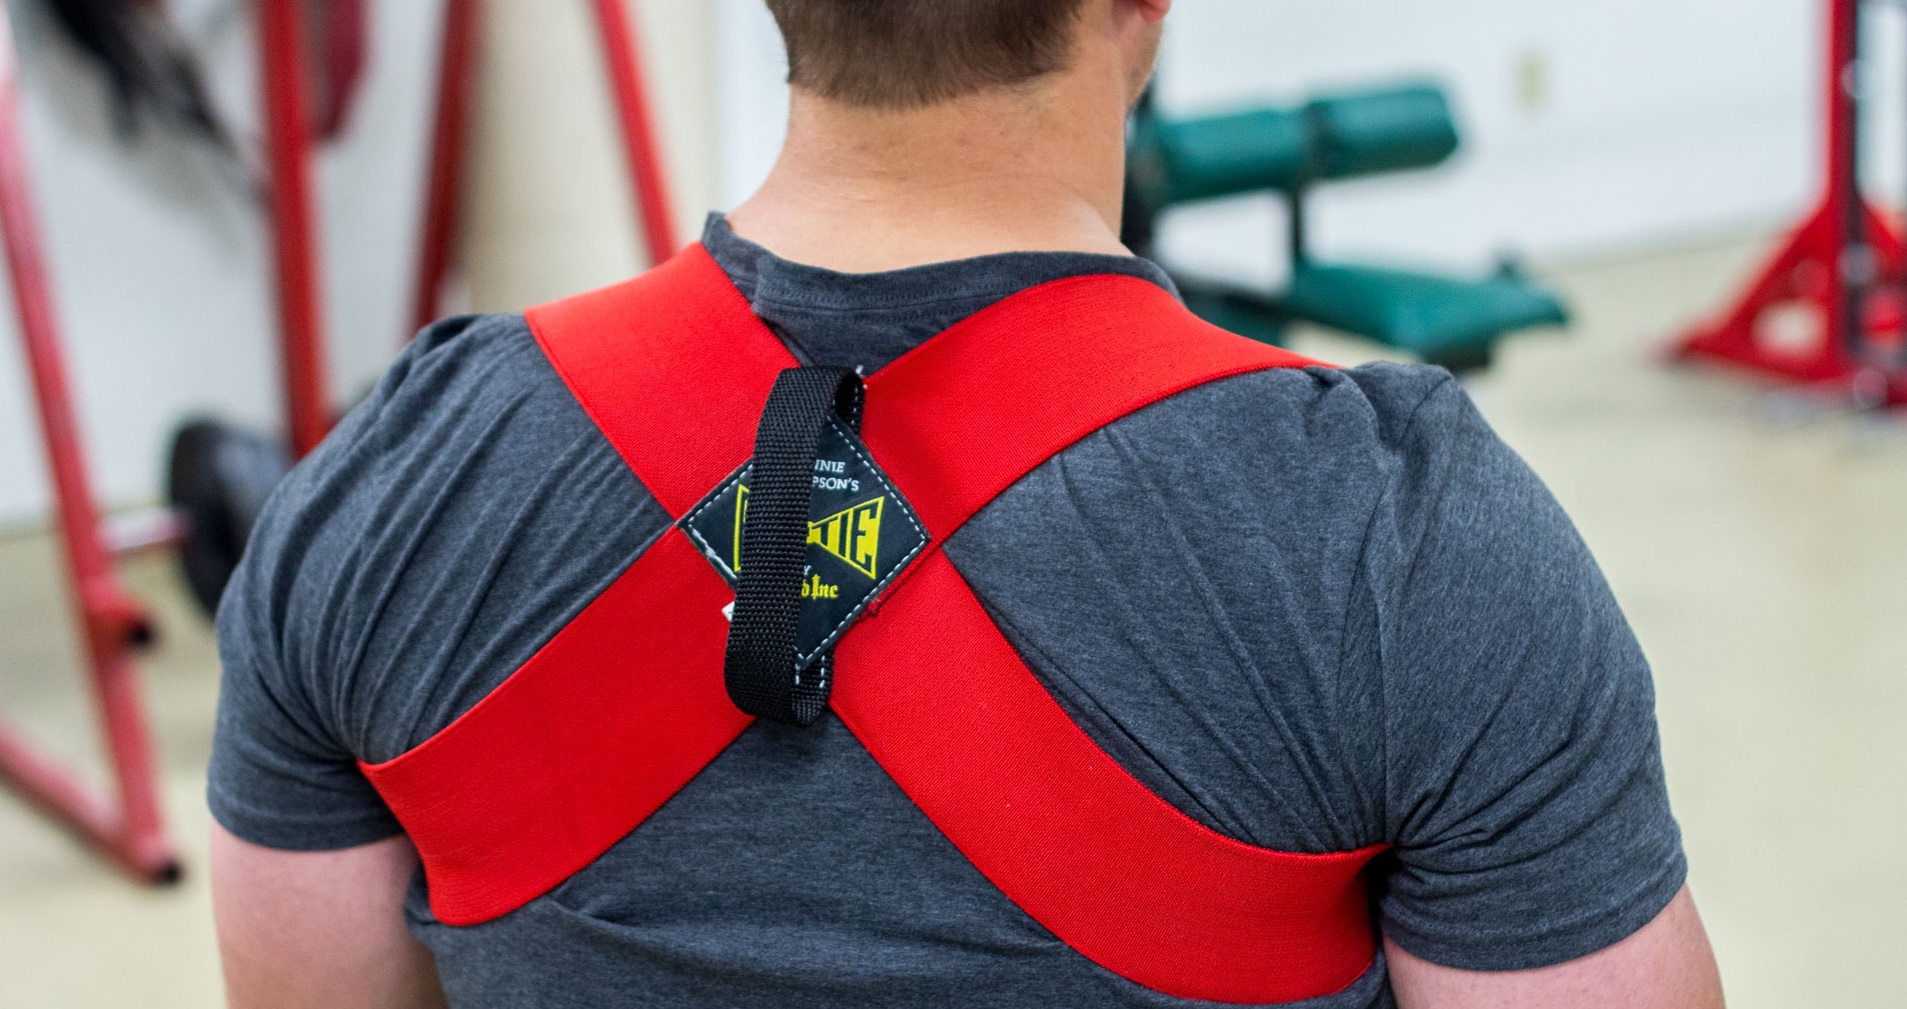
- You can also use the bowtie at home, particularly when spending extended periods in front of the computer. This indicates its versatility in addressing posture concerns not only during workouts but also in daily activities.
Retraining Posture:
- The primary goal of using the bowtie, especially at home, is to retrain the body to adopt a better posture. Prolonged sitting, especially at a computer, can contribute to poor posture, and the bowtie becomes a tool for correction.
- To maximize its effectiveness, you can flip the bowtie upside down. This adjustment allows the handles to be used to pull underneath the lats, not only pulling the shoulders back but also down.
- This dual action creates a comprehensive approach to posture improvement and chest development.
Eliminating Postural Concerns:
- By fixing your posture with the help of the bowtie, the concerns about whether the shoulders are back enough or if the chest is held tall become obsolete. The posture is already established, providing a foundation for chest growth.
Positive Outcome:
- This is an effective approach which is works. The positive outcome is expected to be visible in the form of improved posture and, consequently, enhanced chest development.
- The application of bowtie goes beyond simple shoulder retraction; it aims to create a holistic posture correction, involving both the shoulders and the chest.
These steps will help you tackle the root causes of thoracic spine inflexibility, scapular stability issues and forward head posture. Having them as part of your fitness routine can not only improve your chest workouts but with the overall musculoskeletal health also.
